Flow management
In the IoT Logic product flow is a visual tool for the data reception, enrichment and forwarding. It represents the sequence of nodes that can be added via drag and drop menu. In this document we will look at the main interface and controls for Flow management which will be helpful for you to create a first data flow in the IoT Logic product.
Start working with the IoT logic product
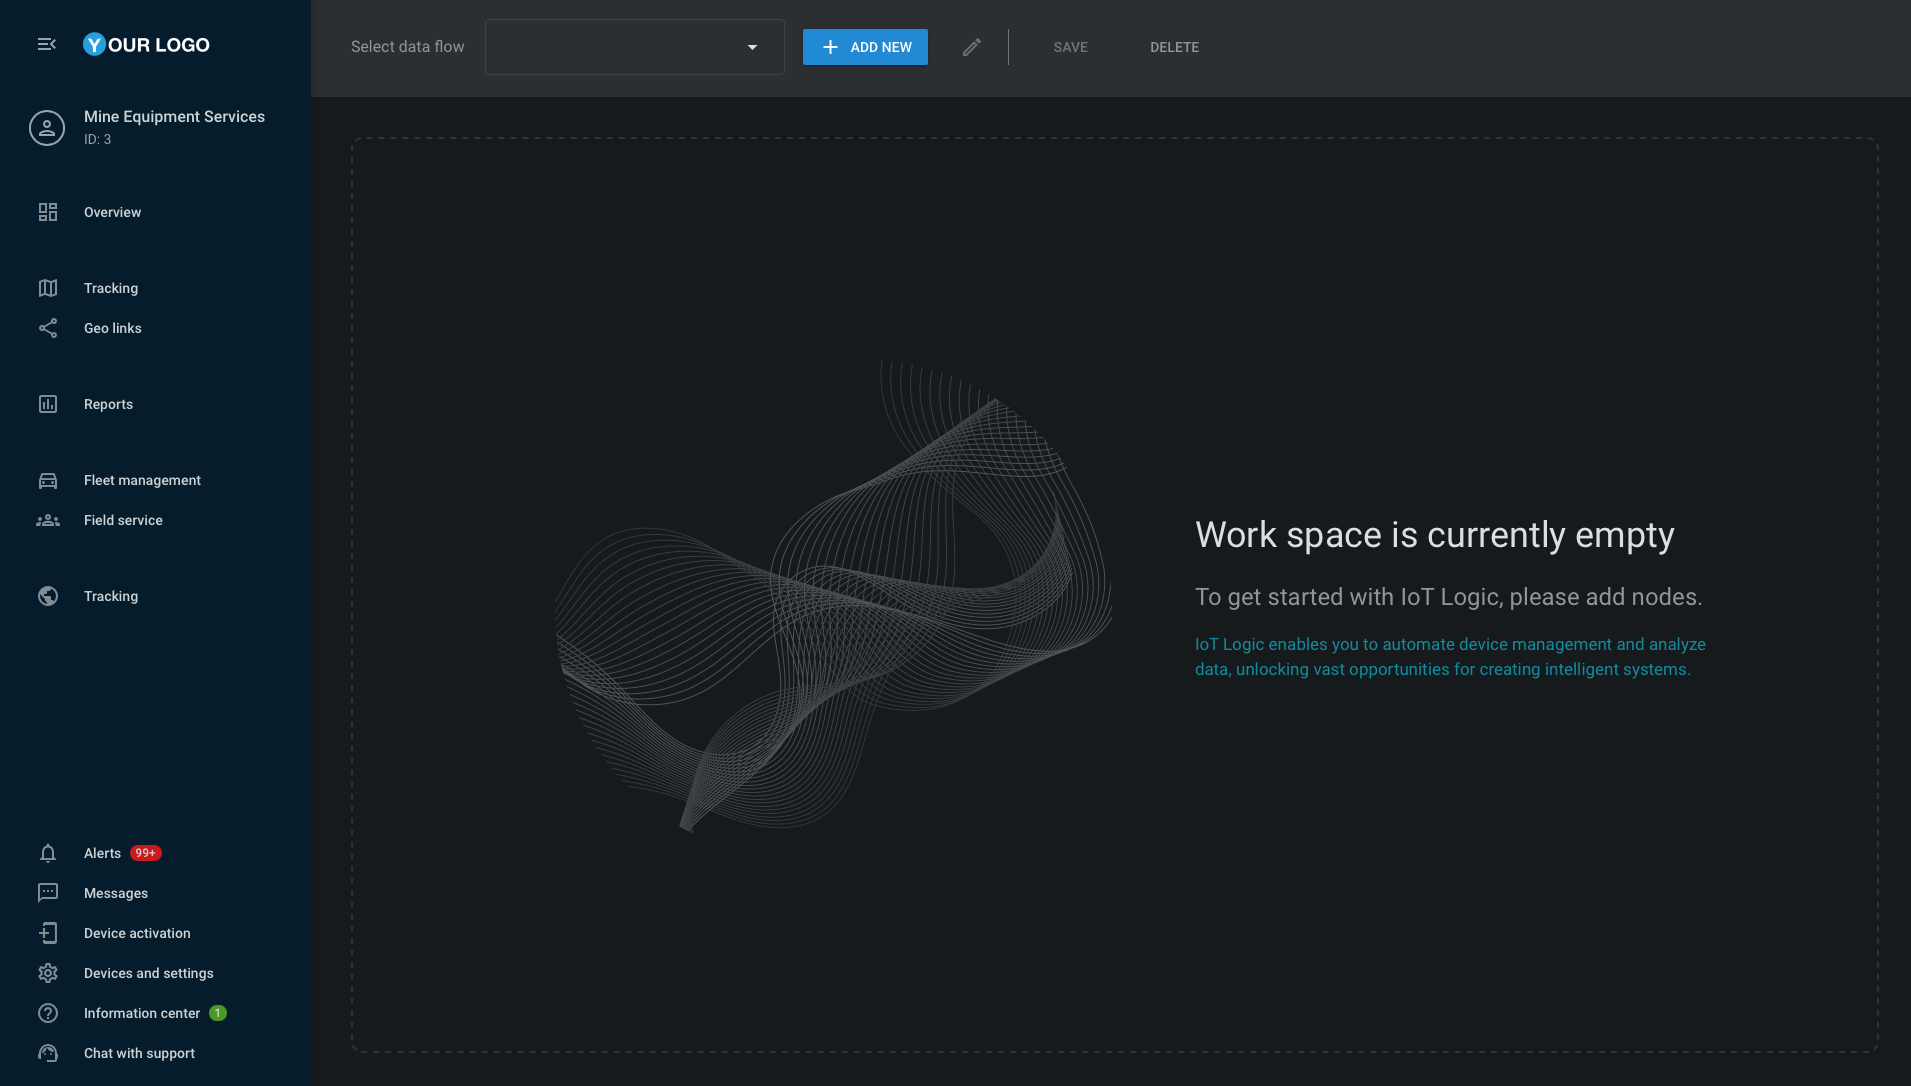
Let’s look at the central part of the main screen in the IoT Logic main page.

IoT Logic workspace
Here you can see the empty workspace where most of the work on IoT Logic products takes place. In this place you can add your nodes and build data flows that solves your business tasks. To start working with it you should create a data flow.
Create data flow
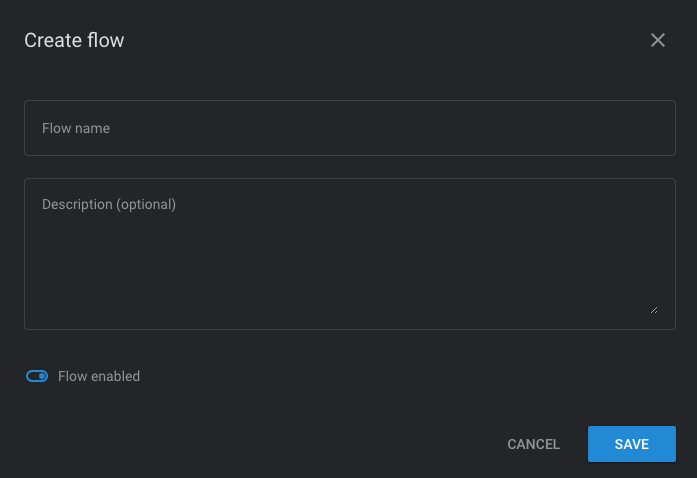
To create your data flow, you need to click the Add new button in the top of the screen. After that the “Create flow“ window will open:

Create flow window
Here you need to specify data flow name and fill the optional description for this flow. The “Flow enabled” switcher can disable or enable whole flow. It can be useful in cases when you need to temporary stop the data processing. After the whole necessary fields are filled, you can save your flow by clicking “Save“ button. After this other tools will be available. If you want to edit a name, description or disable/enable a flow, you can do it via the pencil button.
Process of data flow building
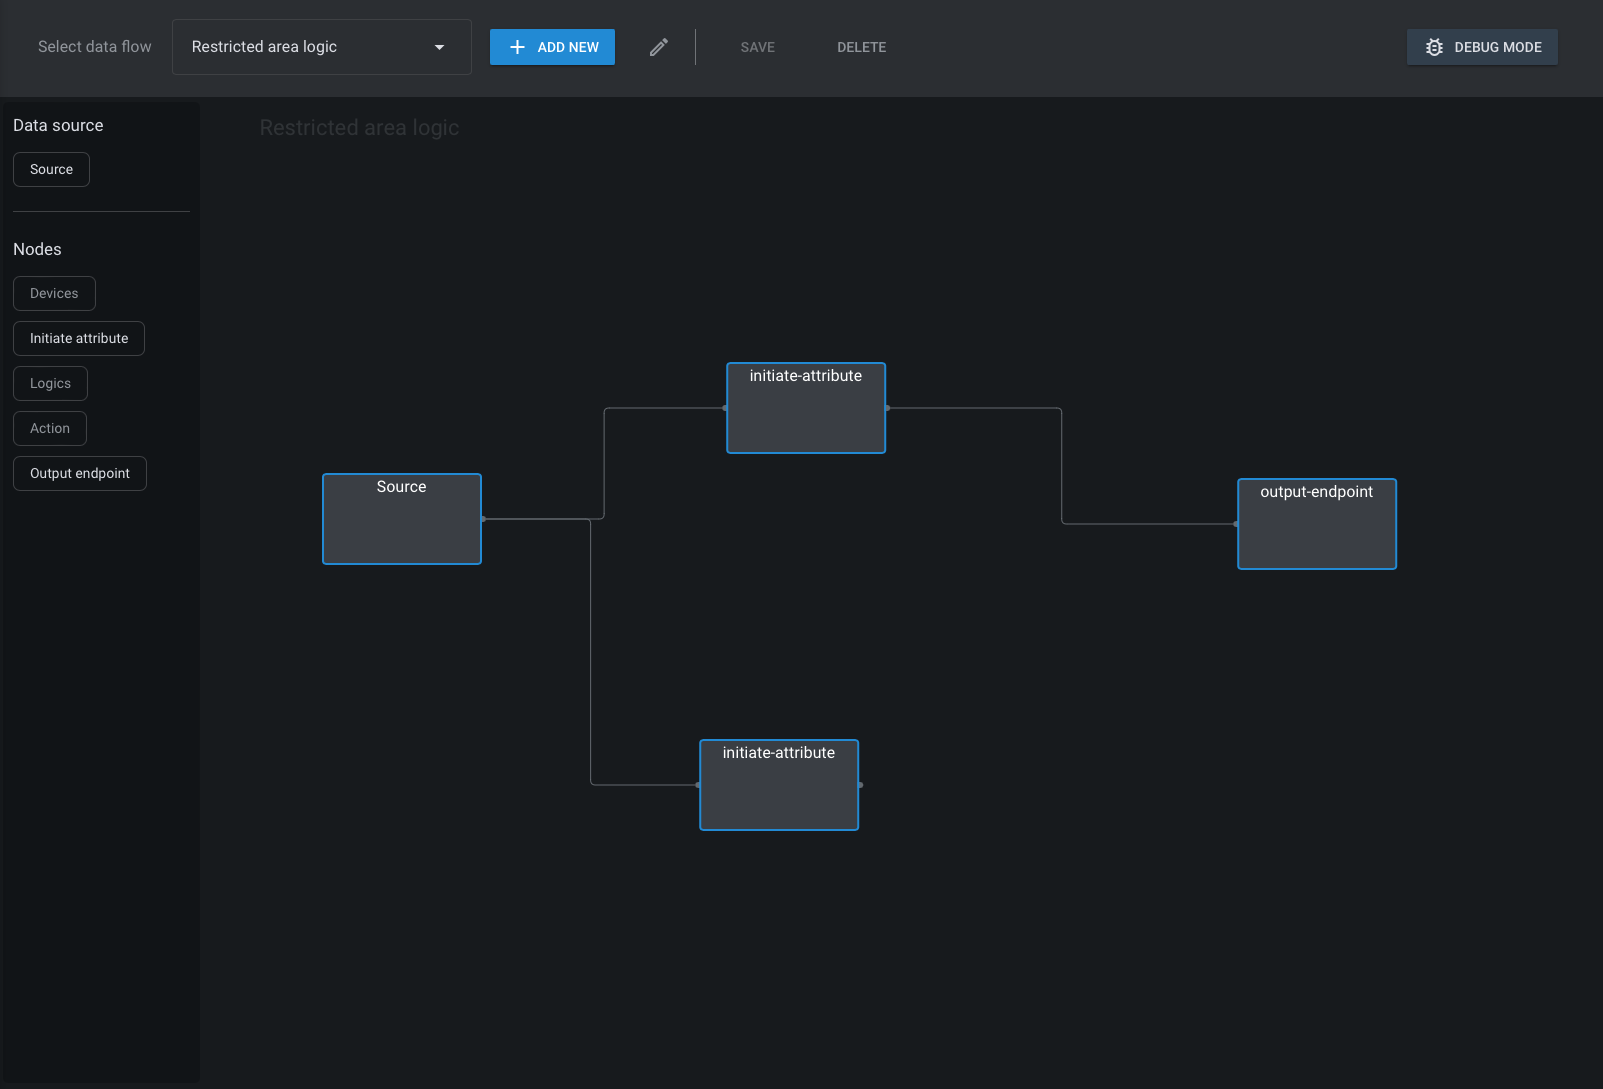
In the left part of the screen you can find a menu from which you can drag and drop nodes to the workspace. All nodes should be connected according your needs. Below you can find short descriptions for the nodes:
Source – this node is used for creating an entry point in the IoT Logic product for the data stream. Here you can select devices from the list of objects that takes from the Navixy UI where you add your trackers as usual.
Initiate attribute – with the help of this node you can rename device parameters and create new attributes based on the incoming device data by calculations via Navixy IoT Logic Expression Language.
Output endpoint – this is a node for forwarding a result of calculations and logics to the third party servers via the Navixy Generic Protocol (JSON format).
Please note that there is no need to create the Output endpoint node to forward resulted data to Navixy, because it works automatically. Preprocessed data will be there after all nodes are

Data flow example
As you can see, any node can be connected to multiple nodes if you want to work with one data stream via different ways.
After the needed process is ready you can save your process by clicking “Save” button. Also any flow can be removed via “Delete“ button.
You can switch between created flow via the single select dropdown “Select data flow“, all unsaved changes will be lost.
