Raw data widget
The raw data export tool in Navixy allows you to download parsed and decoded data from any GPS tracker on the platform in CSV format. This feature is essential for device diagnostics, data analytics, and integrating data with AI / ML programs.

Raw data export widget
Overview
With the raw data export tool, you can:
Download parsed data from any GPS tracker on the platform.
Select specific parameters to include in your CSV file, with an easy-to-use search function.
Access of historical data without needing to activate data saving in advance.
Adjust timestamps to your preferred timezone, making it easier to manage data across different regions.
Output of the raw data consists of all decoded information from the proprietary protocols of the device model. Once decoded, the data is stored in a universal format, including key details such as location and sensor readings. The data is provided in a CSV file format for easy access and integration.
How to use raw data export
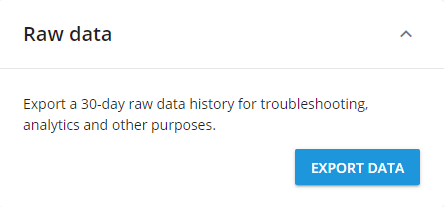
Start by going to the 'Devices and Settings' section and locate the device. Then, click the 'Export Data' button in the 'Raw Data' portlet.

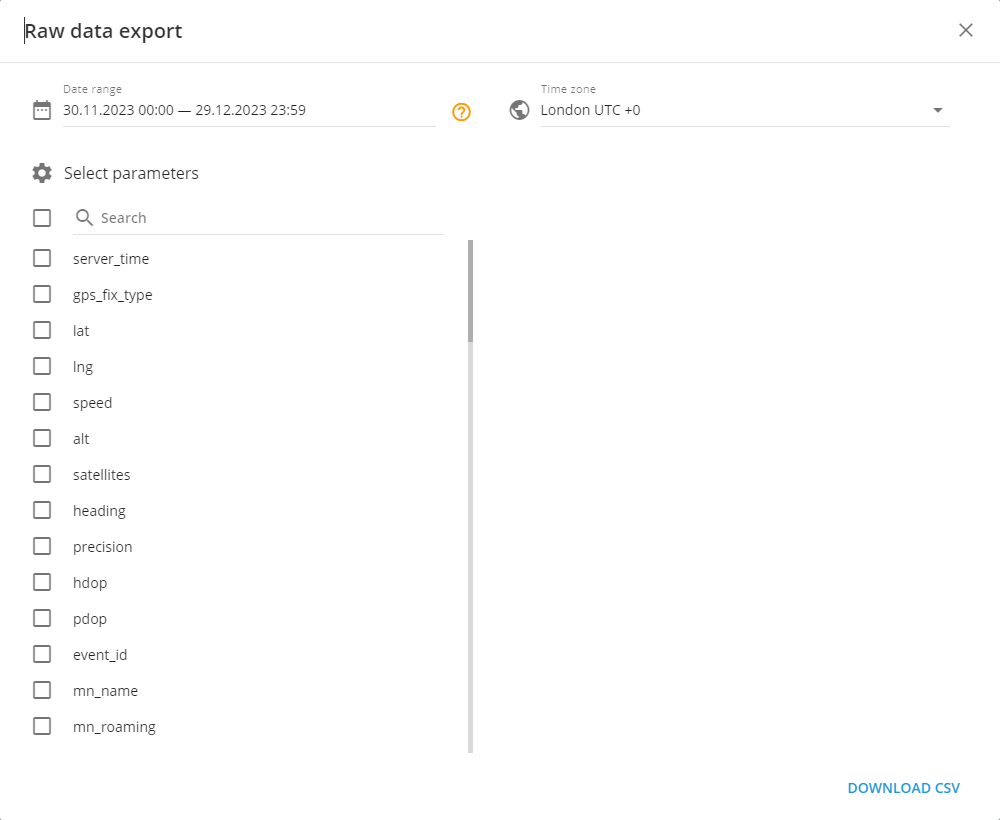
Raw data export tool file configuration window
This will open the 'Raw data export' tool. Choose the date range, timezone, and parameters that must be included into a csv file.
To avoid accidental window closures, the 'Raw Data Export' tool can only be closed by clicking the 'X' in the top right corner. Additionally, if you haven't switched devices or refreshed the page, the tool will remember your previously selected settings. This feature makes it easy to review GPS tracker or sensor settings, return, and continue working.
Selecting a date range
You can select up to the last 30 days or more, depending on your plan. Dates can be chosen either by clicking on the calendar or manually entering them. Specific times can also be set. Here are some quick selection options:
Yesterday
Last week
Last 30 days
Clicking on these will automatically set the appropriate date range.
To simplify the process, a counter shows how many days you've selected. If you attempt to select a date more than 30 days in the past, you'll receive a message and the selection button will be disabled.
Choosing a timezone
The timezone defaults to the user’s account timezone but can be adjusted by:
Choosing from a list of available time zones.
Entering the timezone name.
Inputting the timezone offset (e.g., -8, +2).
Selecting parameters
The available parameters vary by device model and include all parameters integrated into the platform for each model. Up to 1000 parameters can be selected per file.
Options for parameter selection include:
Select all: Click the checkbox to select all parameters.
Select specific parameters: Use the checkboxes next to each parameter.
Search: Find specific parameters by typing their name or part of their name.
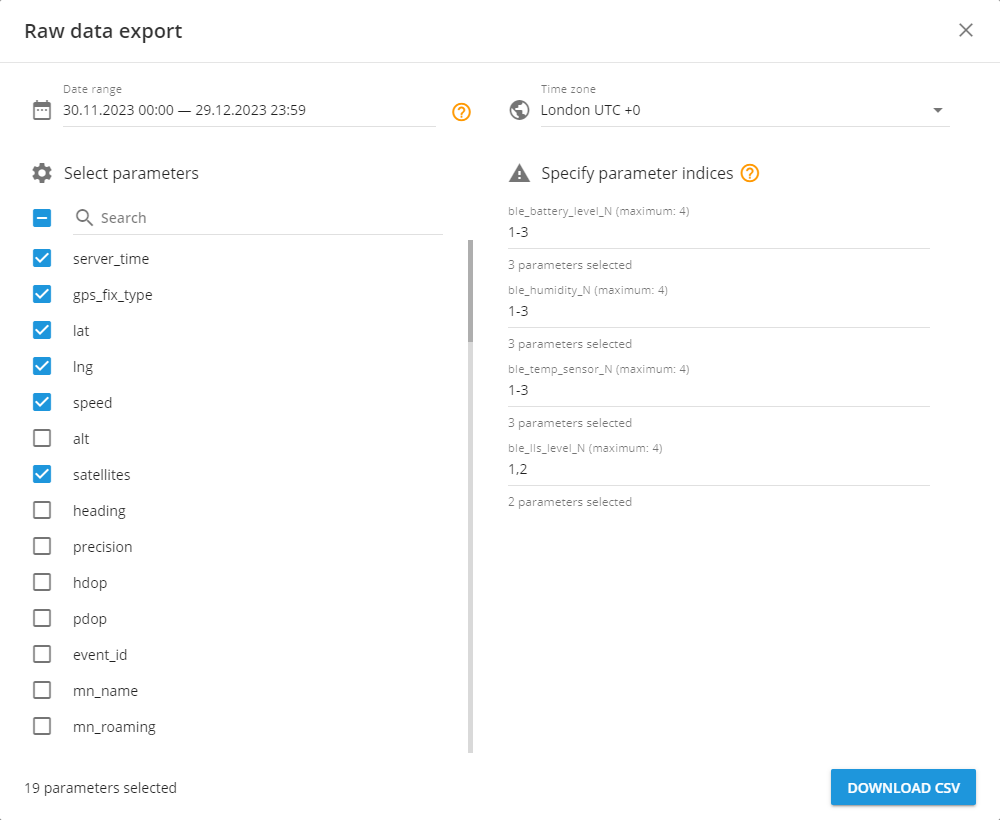
For multiple inputs of the same type, the system prioritizes the input with the largest index number. You may specify which indices to include by entering numbers separated by commas or defining a range using a dash (e.g., “1-2, 4, 7”).
A count of selected parameters is displayed, and each chosen parameter will add a column to the CSV file.

Raw data export tool file configuration window with chosen parameters
How to read the raw data file
After selecting the necessary parameters, click ‘Download CSV’ to download the file.
The file can be opened with any text editor or table viewer that supports CSV format. Columns are separated by commas.
The file name includes the device ID, tracker label, and the specified date and time range.
Each row (starting from the second row) represents a message sent from the device to the platform. The first row contains the message time in the chosen timezone, followed by the selected parameters.

Raw data file columns example
This tool is essential for diagnostics and analytics, providing detailed insights into your device data.
